
Preparing for Maple Syrup Season
How to Make Your Own Maple Syrup at Home
Making your own maple syrup is a rewarding and magical process that connects you to the natural world and gives you a sweet reward for your efforts. Whether you have a few maple trees in your backyard or access to a nearby grove, learning the art of syrup-making is simpler than you might think. In this guide, I’ll walk you through everything you need to get started, so you can make maple syrup—just like our family does every spring.
As an Amazon Associate, I earn from qualifying purchases. This helps support our homestead at no extra cost to you.
Step 1: Gathering Your Supplies
To make maple syrup, you don’t need a fancy setup; a few essential tools will do. Here’s what you’ll need and where to find them:
1. Taps (Spiles)
• Spiles are the metal or plastic taps that go into the tree to allow sap to flow. You can find them here on Amazon or at farm supply stores. We prefer the stainless steel, while more expensive up front, they last forever if you care for them properly.
2. Buckets or Collection Bags
• Food-safe buckets or specialized sap collection bags are ideal. Be sure to grab lids to keep out debris and rain. Check out this kit for beginners, we’ve used this ourselves and it’s a really good option. If you prefer buckets, we’ve found that Blain’s has the best price on food grade buckets with lids and you’ll drill a hole into the bucket for your tubing.
3. Drill and Drill Bits
• Use a drill with a 7/16-inch or 5/16-inch bit to tap your trees. Most spiles specify the size needed. The ones we linked are 5/16 and you can get some of those here.
4. Evaporating Pan or Large Pots
• Stainless steel stockpots or flat evaporating pans work well for boiling down sap. You can find the ones we’ve used the last 3 years here.
5. Filters
• You’ll want a decent filter setup but it doesn’t have to cost a lot. Prefilters and a thicker wool or synthetic filter should do the trick. You can find that here, and a stand for this setup to go over a bucket or a pot, here.
6. Thermometer
• A candy thermometer helps you monitor the sap’s temperature as it turns to syrup.
Step 2: Identifying Maple Trees in Winter
Identifying maples during winter can be tricky, but there are a few reliable signs:
• Bark: Sugar maples have grayish bark with vertical grooves that sometimes curl outward as the tree matures.
• Twigs and Buds: Look for opposite branching (twigs grow directly opposite each other) and pointed brown buds.
• Location: Maples often grow in clusters and thrive in rich, well-drained soils.
Pro tip: Mark your trees in summer or fall when leaves make identification easier, then revisit them in winter.
Step 3: Tapping Your Trees
The ideal tapping time is late winter or early spring when daytime temperatures rise above freezing, and nights stay below freezing. Here’s how to do it right:
1. Drill Your Hole: Drill a 1.5-2-inch deep hole at a slight upward angle about 3 feet from the ground.
2. Insert the Spile: Gently tap the spile into the hole using a hammer until snug but not too tight.
3. Hang Your Bucket: Attach your collection bucket or bag, and you’re ready to start collecting sap!
Step 4: Collecting Sap
Sap flows best on sunny days when temperatures rise above freezing. Check your buckets daily and pour the sap into a larger storage container, keeping it cool until you’re ready to boil. Sap can spoil quickly, so aim to process it within a few days.
Step 5: Boiling Sap into Syrup
Boiling sap is where the magic happens. If you’re working in small batches, here’s how to do it:
1. Start Outdoors: Boiling sap produces a lot of steam, so it’s best to start outside on a propane burner, open fire, or outdoor stove.
2. Transfer Indoors for Finishing: Once the sap has reduced significantly, move it to a smaller pot on your kitchen stove to finish.
3. Check for Syrup Consistency: Syrup is ready when it reaches 219°F (7°F above the boiling point of water). We usually are finished around 220° though. We use brix by measuring with a hydrometer to ensure we’re at the right sugar level.
4. Filter and Bottle: Pour the syrup through a fine mesh filter or cheesecloth to remove impurities, then store it in sterilized glass jars or bottles.
Pro Tips for Beginners
• Start Small: Boil down just a few gallons of sap for your first batch to get the hang of it.
• Expect Reduction: It takes about 40 gallons of sap (even upwards of 55 gallons) to make 1 gallon of syrup, so don’t be discouraged by the reduction. Many factors play into this from tree species, sugar, red or silver maple, location, etc.
• Enjoy the Process: Syrup-making isn’t just about the end result; it’s about connecting with the season and the joy of creating something yourself.
Why Support Small-Scale Syrup Makers
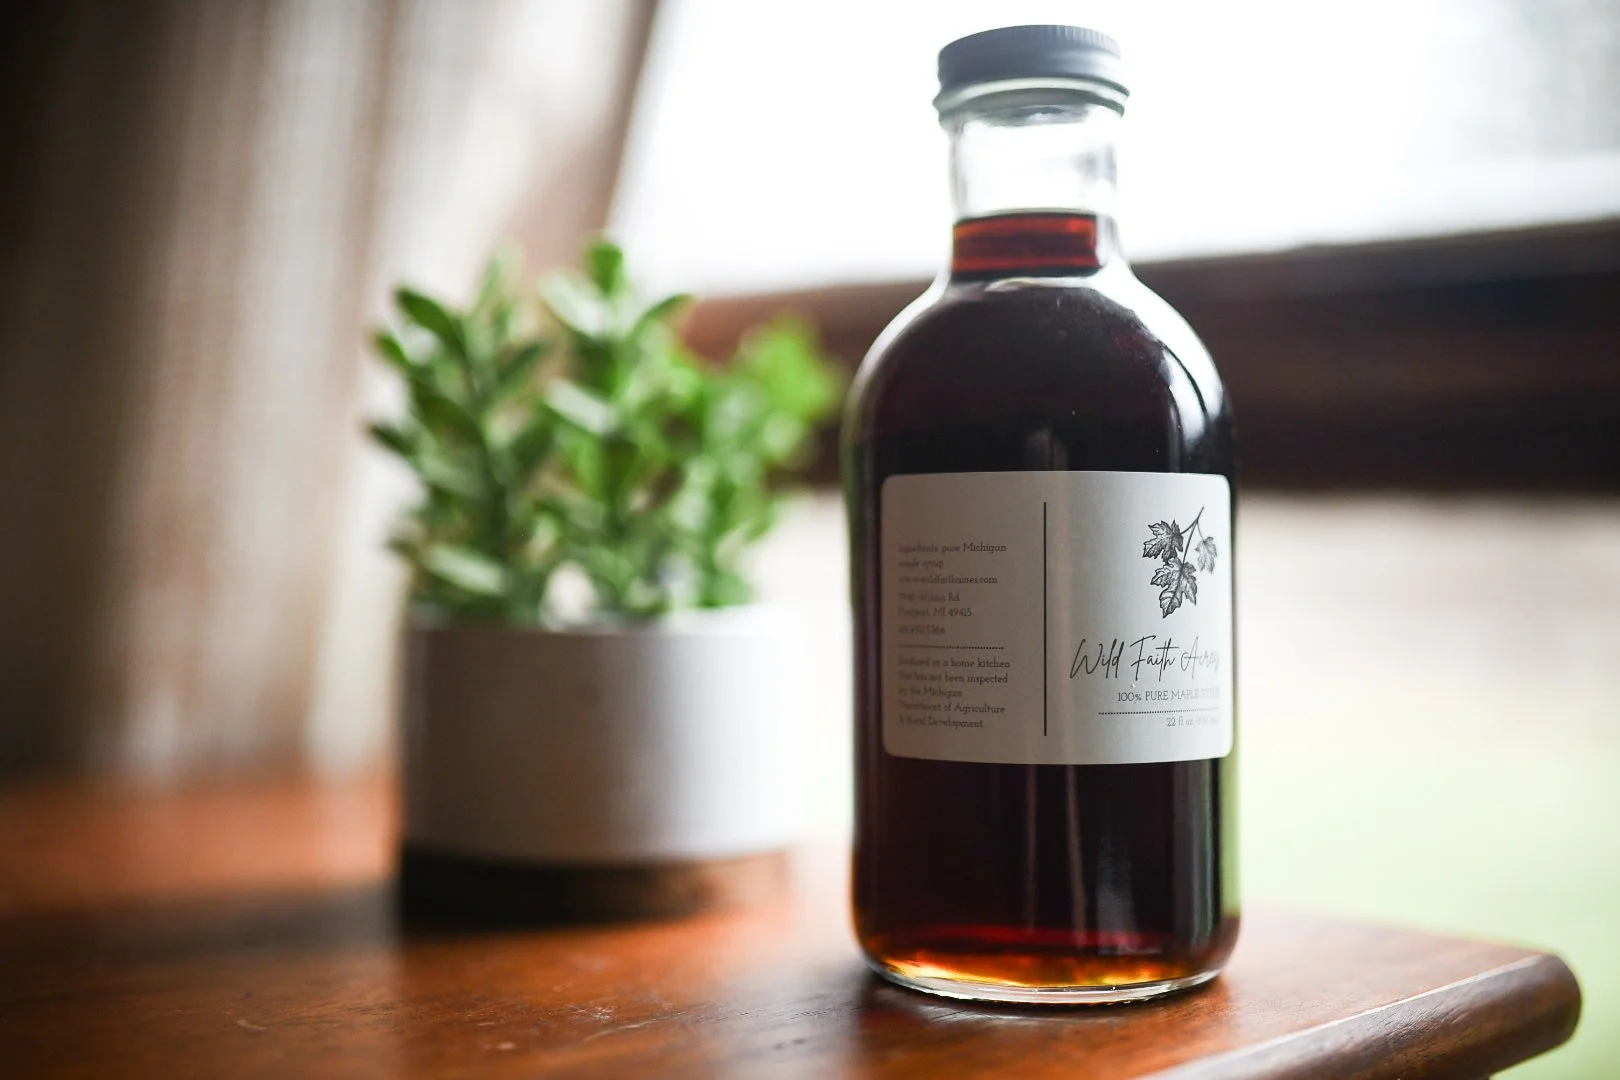
If syrup-making feels like too much for you this year, consider supporting small producers who carry on the tradition. Each bottle from a family operation represents hard work, passion, and respect for the craft. You’ll taste the difference in every drop. You can find our syrup here.
Shop for Your Supplies Today
Ready to get started? I linked a bunch of the supplies above that we have personally use or still use.
Making maple syrup at home is a skill you can cherish and pass down through generations. Whether you tap one tree or a small grove, the experience will leave you with a deeper appreciation for nature and the sweetness it provides.
Happy sugaring season, and don’t forget to share your syrup-making adventures with me in the comments below!